The Perfect Star Wars Cricut Fathers Day Card- Easy DIY for Dad
Note: As an Amazon Associate, I earn from qualifying purchases. If you click on a link from Amazon or another of my advertising affliates, I will earn a small commission at no additional cost to you. Please see my full disclosure policy here.
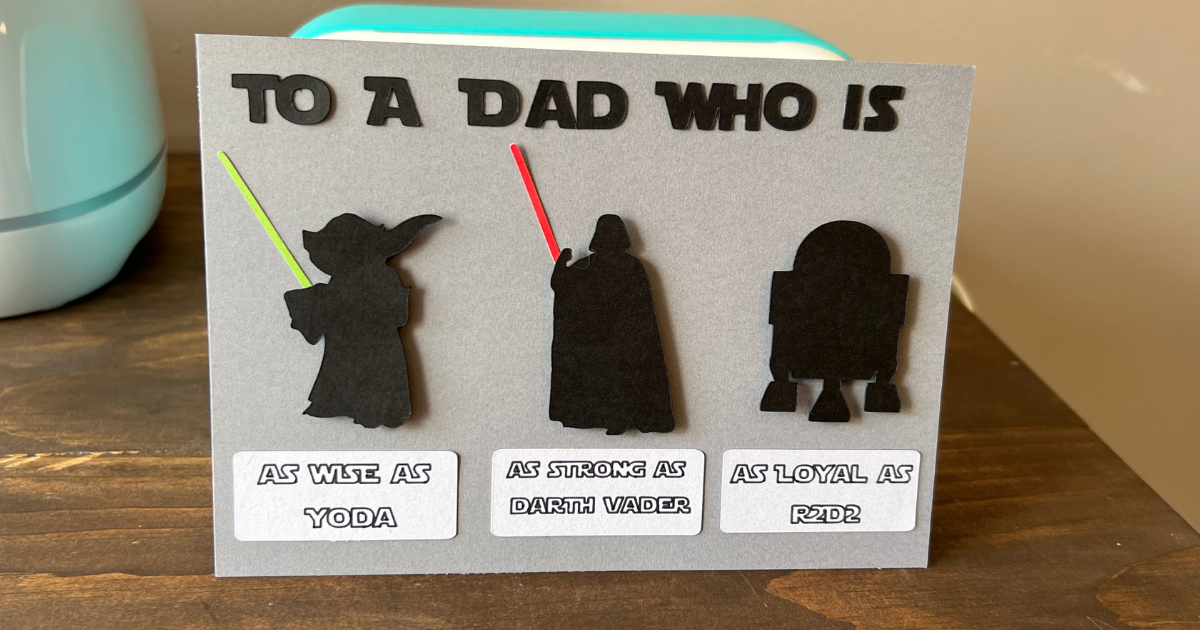
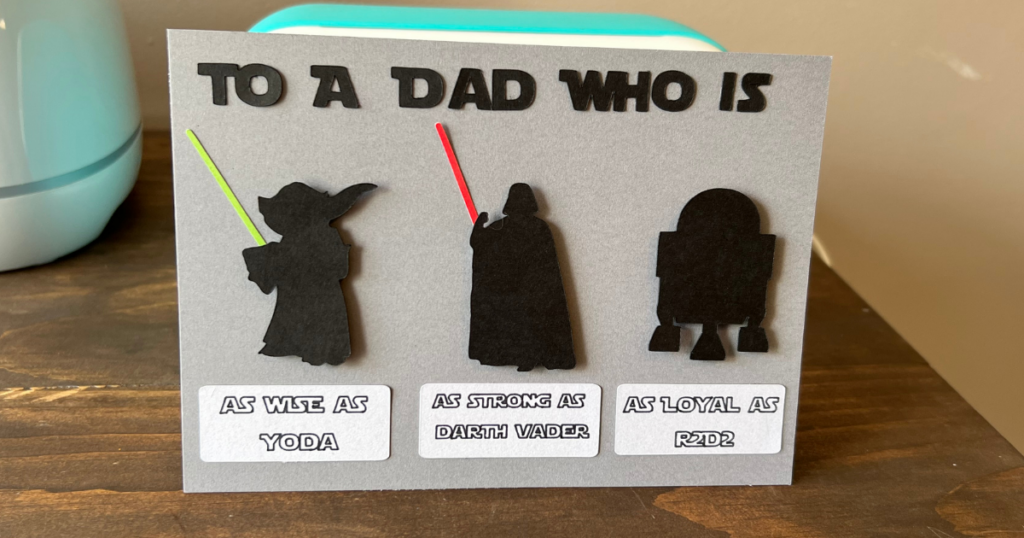
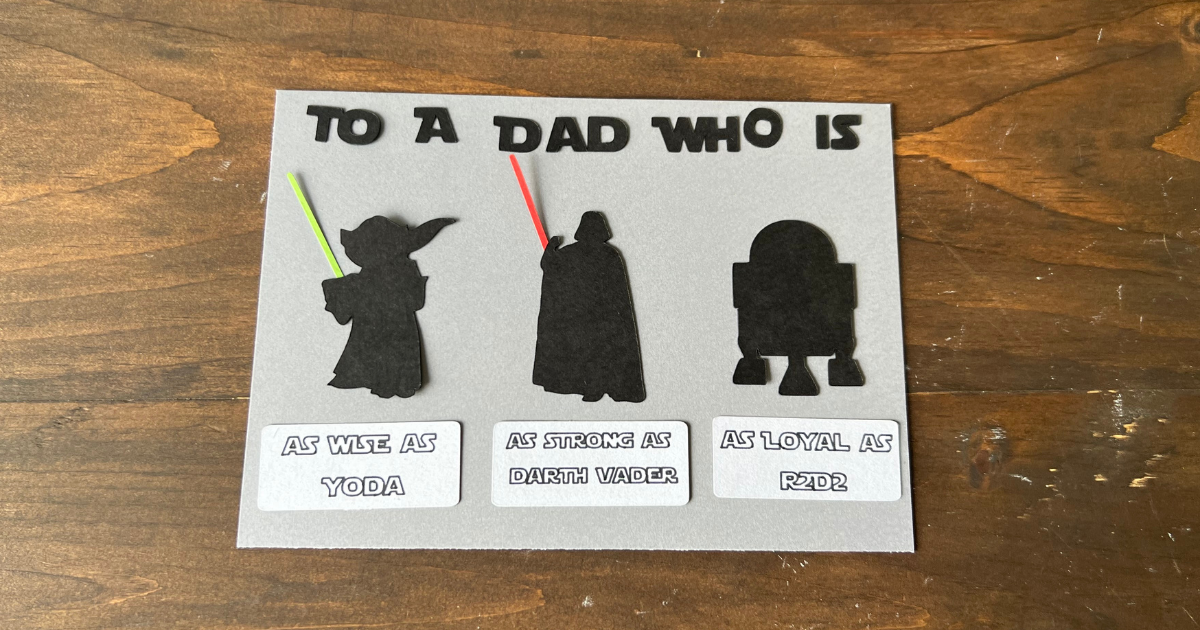
In a galaxy far far away, someone was designing and making a Father’s Day card that would make a dad forever happy on Father’s Day. The force was strong at the craft table that day and an epic Star Wars card was created. Are you hearing the Star Wars music and feeling the vibes? I hope so! My husband is a huge Star Wars fan and it’s been passed on to the kids and me. Honestly once we started watching Clone Wars with the kids I was hooked. So I was inspired to create a Cricut Fathers Day card for a Star Wars fan. It would make a great birthday card too with a quick title change.
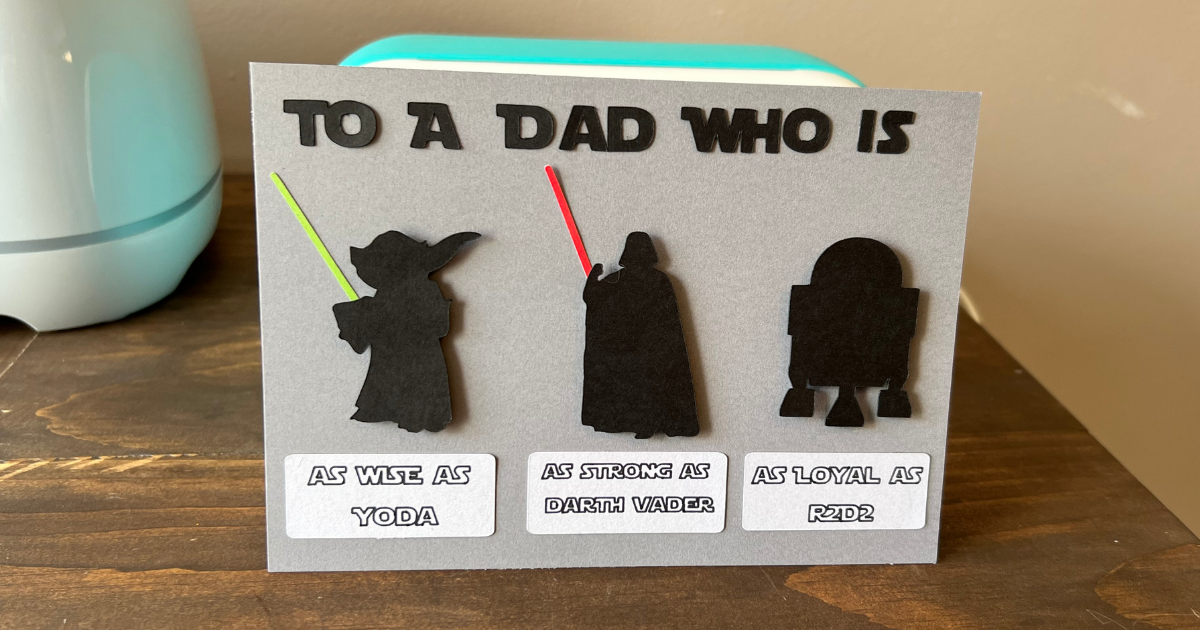
Cricut Design Space does have Star Wars characters, but I only used an image of R2D2. So the card did cost a $1.99 in Design Space. I used this Yoda SVG and this Darth Vader SVG for free.
I did create this card with my Cricut Joy, but it can be created with any Cricut machine. My Father’s Day card is a 5×7 card, but I like to cut all my card mats with a paper trimmer. It’s my thing. I also like to use already made blank cards and envelopes (I just find it easier).
Here are a few other easy ideas for Dad. For a candy loving dad, make this easy candy jar and for a Lego loving dad, create this LEGO stamped picture frame. These ideas are both fun and easy fo rate kids to make.
Supplies for DIY Star Wars Card
Black Card stock
Gray Card Stock
Paper Trimmer
Cricut Joy
Black Pen for Cricut Joy
Double Sided Adhesive Squares
5×7 Blank Card
Light Grip Mat
How to Make a Cricut Fathers Day Card for a Star Wars Fan
One of the questions I always get asked is “Can you make a greeting cards with Cricut?” Yes! Of course you can! It will save you so much money to make your cards instead of buying them. I always buy my blank cards and envelopes on sale for the year. Making greeting cards will also save you cash because you can to use up your scrap vinyl and paper pieces.
To get started with this Cricut Fathers Day Card idea, open a new project in Cricut Design Space. Then click shapes and make a 5×7 rectangle to create the card on.
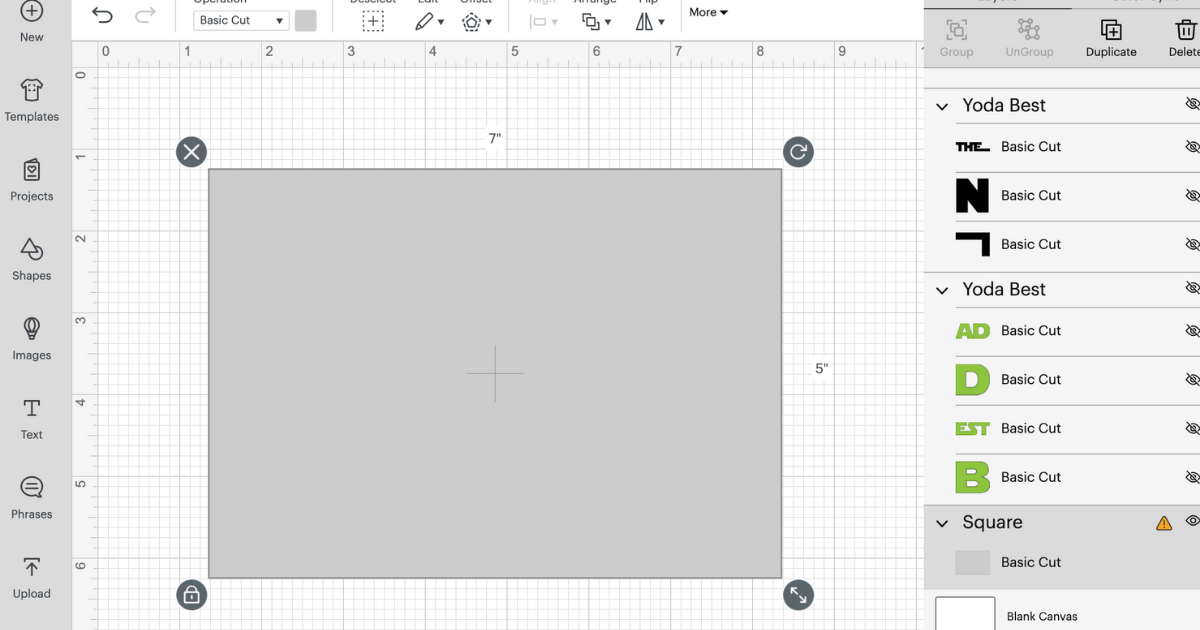
Creating the Star Wars Characters for the Happy Father’s Day Card with Cricut
Upload the Yoda and Darth Vader SVG and add them to the project
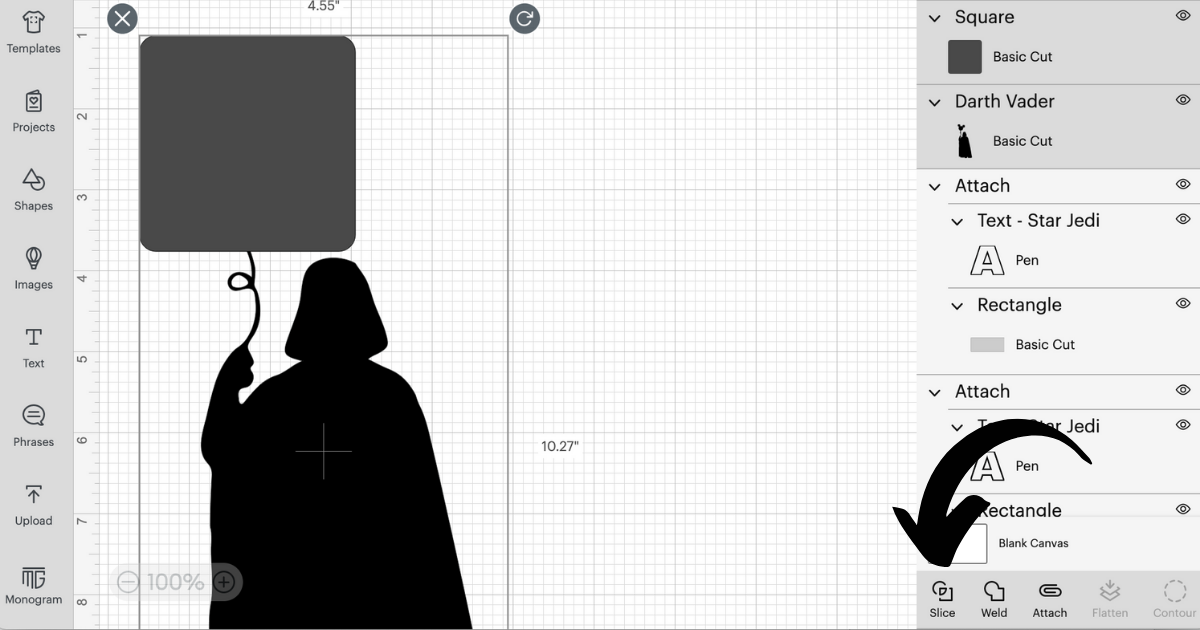
Then for Darth Vader, use the slice tool to remove the balloon. I sliced the image in two parts. Make sure both images are highlighted in grey like mine our in the photo below. Start with a square over the Mickey balloon and click slice. Delete the slice pieces you don’t need.
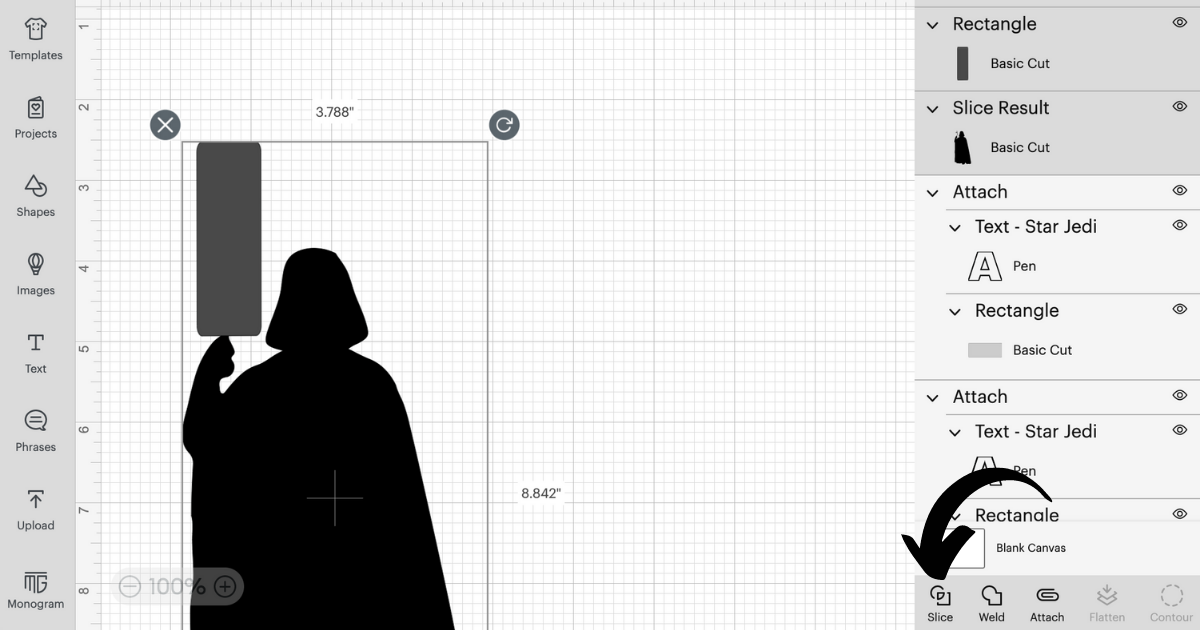
Then do a rectangle over the balloon string. Delete the sliced pieces you no longer need. Add the red light saber to Darth Vader’s hand.
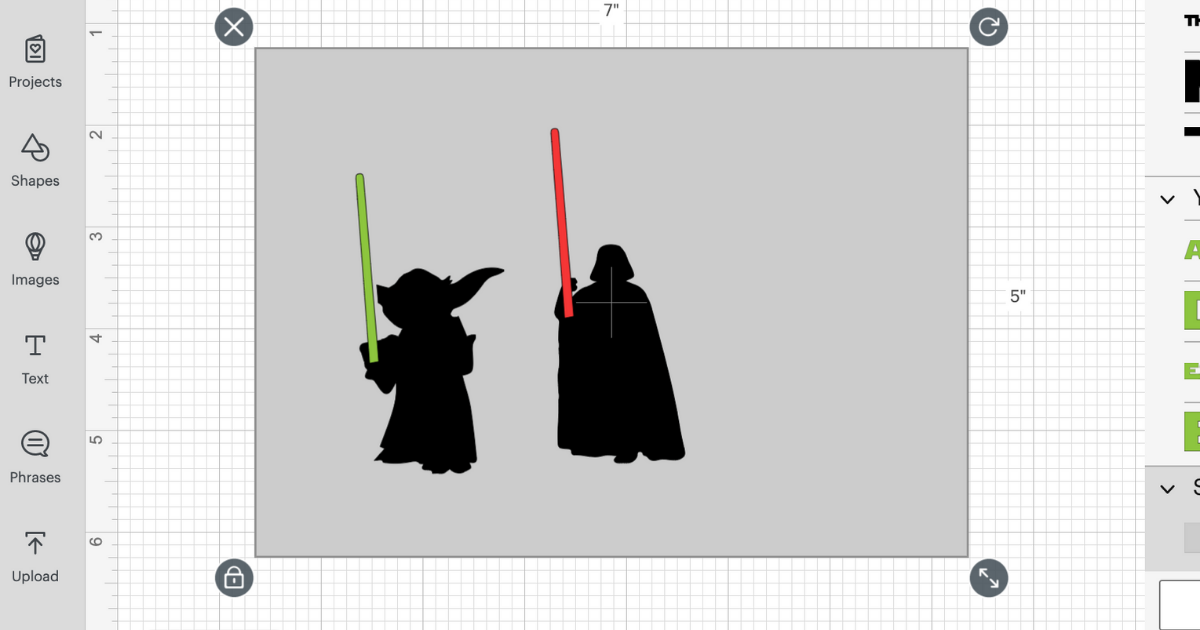
Ungroup Yoda and duplicate his light saber and make it red for Darth Vader.
Insert the R2D2 from the images. The image #M8042b60 and it’s a part of the Star Wars Galactic Line Art Images.
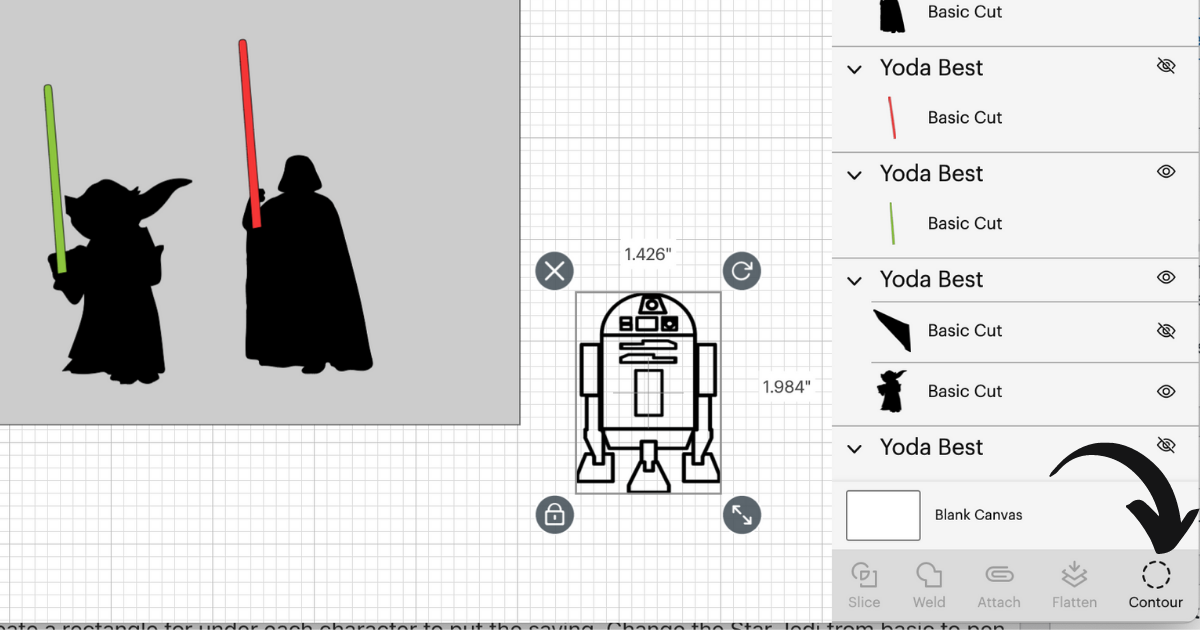
Click R2D2 and then contour to hide all the pieces to create a silhouette.
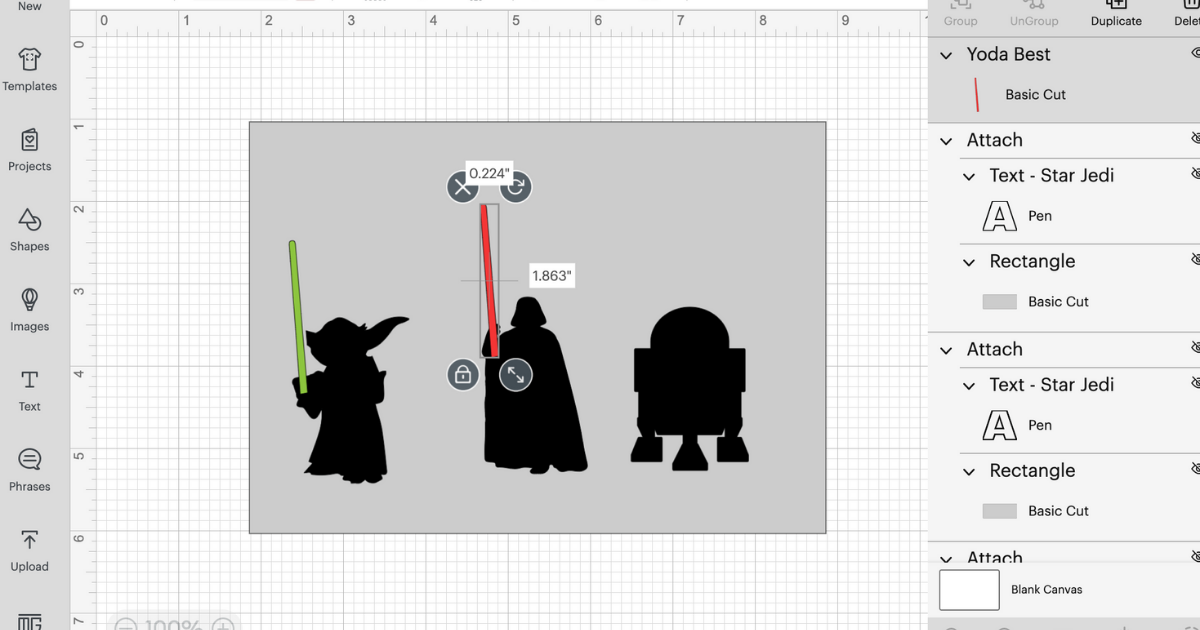
Now that your characters are ready for the card it’s time to add the cute sayings. Using the Star Jedi Font click text and type in To A Dad Who Is.
Next create a rectangle for under each character to put the saying. Change the Star Jedi from basic to pen and attach the writing to the rectangles.
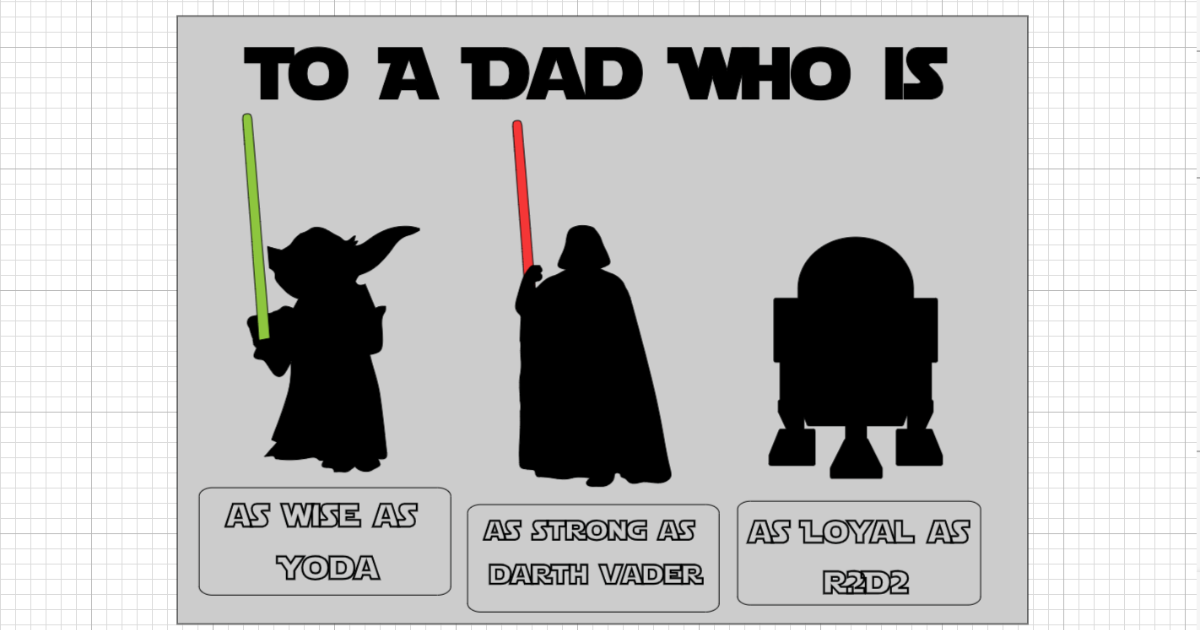
Your homemade Star Wars card is ready to be created. Just follow the prompts in Design Space to cut and write your card design.
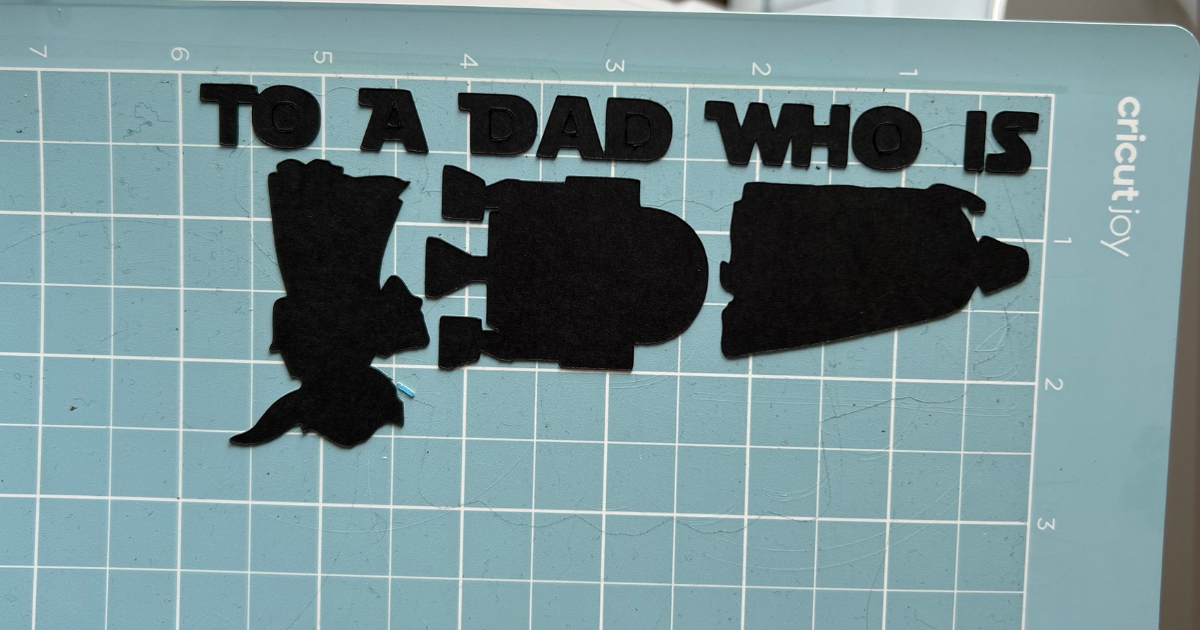
Putting the Star Wars Cricut Fathers Day Card Together
For all of my Cricut cards, I always lay out the pieces and get an idea of how they look and where they should be placed. When I did this I decided I didn’t like the blueish grey I had used for the rectangles with the sayings and redid them on a lighter grey. It’s always a good idea to lay it out before you start glueing.
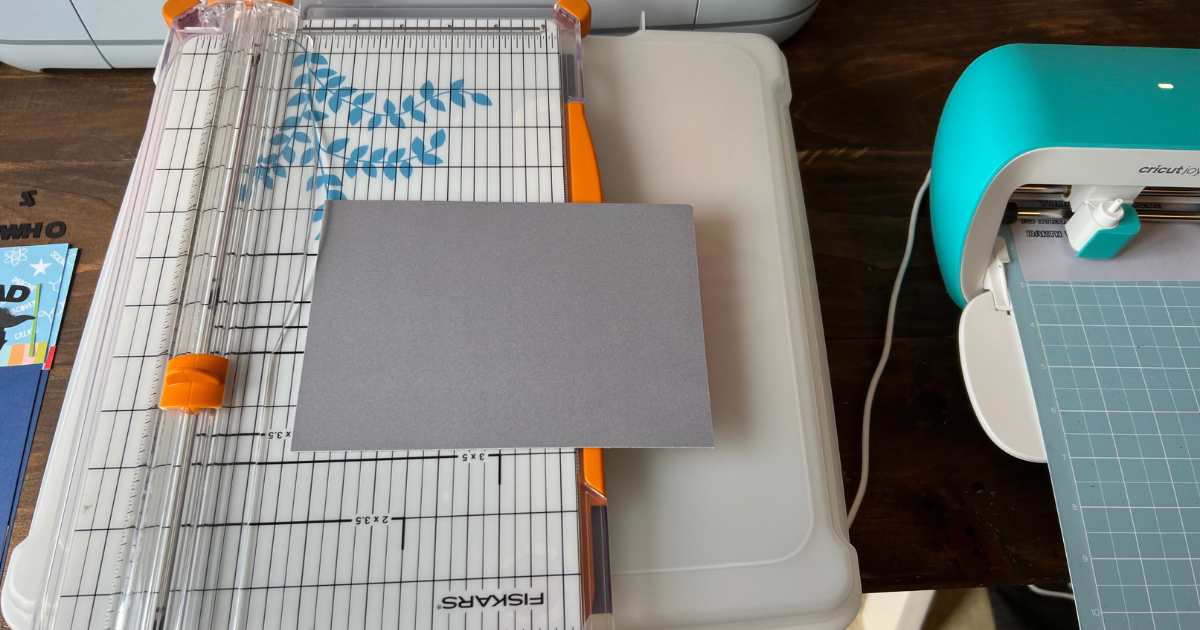
Cut the base layer of the card with the paper trimmer (5×7) and attach to the blank card with double sided squares.
Add the saying To A Dad at the top of the card.
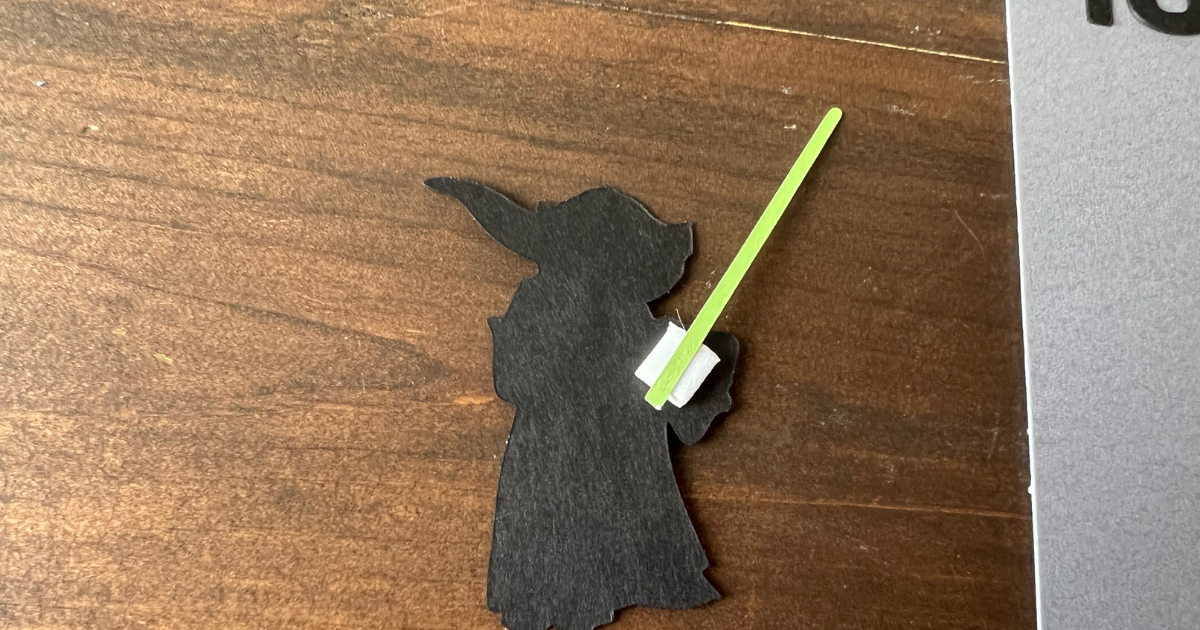
The characters are next and on these I used 3D foam dots to give the card some depth and to make them stand out. You can attach the light sabers with the foam dots. Place the characters evenly apart and make sure there is space to put the rectangles under each character.
Once the rectangles are added, the Happy Father’s Day card is all done. It seems like a lot of steps, but if you know how to use the slice and contour tool in Design Space then this card only takes a few minutes to make.
My husband works from home so it took me longer to hide it from him, then it did to make it. Also my husband is a minimalist so I kept that in mind as I made the card, but you could always add more. That’s the fun of card making!
