Tips to Install Shelf Liner
Note: As an Amazon Associate, I earn from qualifying purchases. If you click on a link from Amazon or another of my advertising affliates, I will earn a small commission at no additional cost to you. Please see my full disclosure policy here.
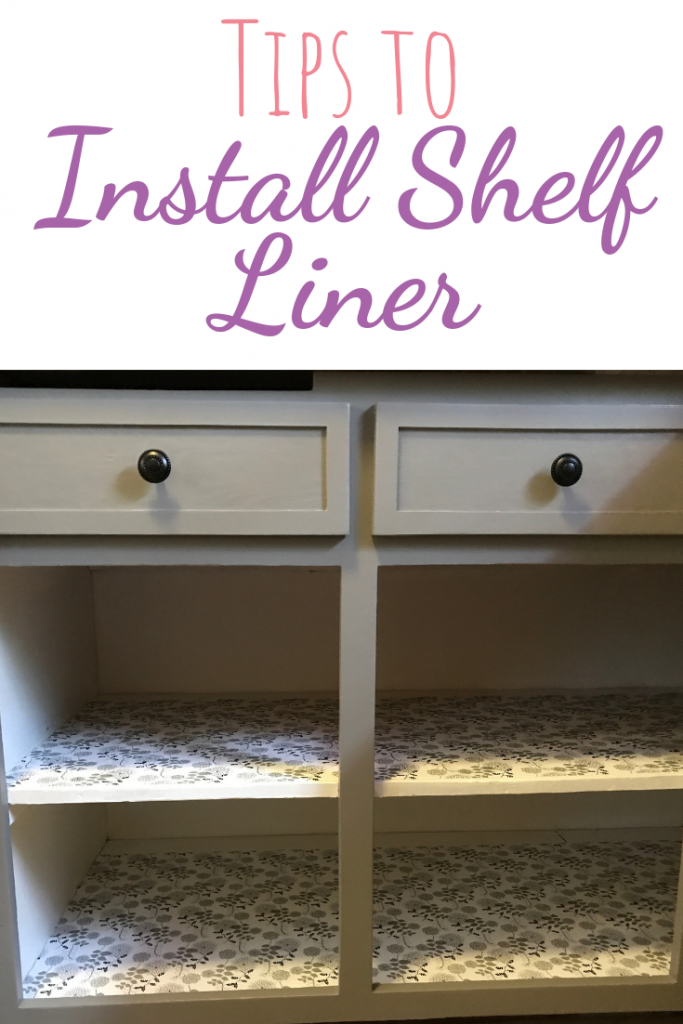
The kitchen is the heart of the home and since it’s spring get your kitchen looking clean, pretty and new. An easy way to make your kitchen pretty is to install shelf liner into your cabinets and drawers. It will make you smile every time you open them. Find out my tips to install shelf liner.
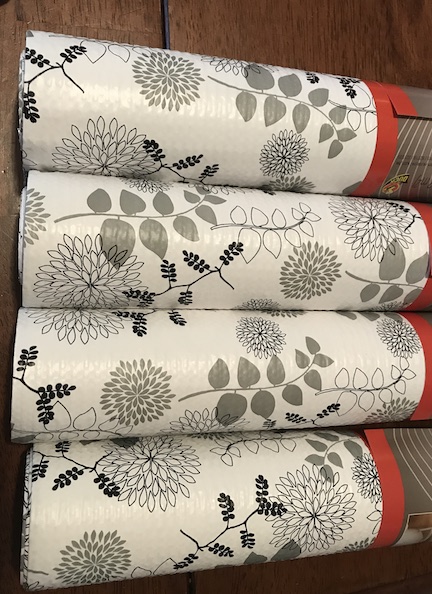
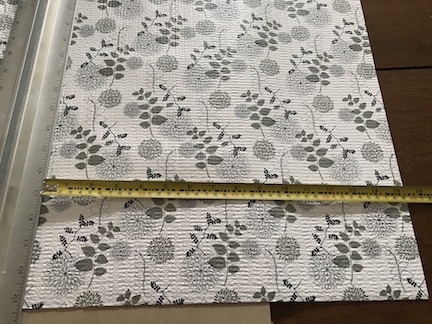
This is an easy and affordable way to brighten your kitchen and give it a fresh clean look. We are in the process of giving our kitchen a makeover and I pulled off 2 layers of contact paper in the drawers and cabinets. I didn’t want to do that again so I decided on the shelf liner. Plus this shelf liner stoled my heart when I saw it. Isn’t it pretty?
Below are some affiliate links and I may make a commission for purchases made through the following links.
Adding in the shelf liner will force you to empty your cabinets and you might find some gems or items that make you say “why do I have this.” I have put together a garage sale pile with all of those items.
Supplies to Install Shelf Liner:
Duck Brand 281054 Smooth Top Easy Liner Non-Adhesive Shelf Liner, 12-Inch x 10-Feet, Midnight Bloom
Long ruler
Extra piece of wood
Utility Knife
Elmer’s Craftbond 11-Ounce Spray Glue Adhesive
Tape Measurer
Newspaper
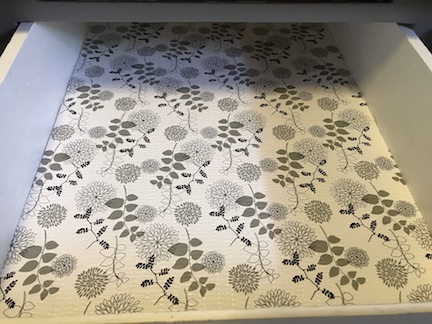
Tips to Install Shelf Liner to the Drawers
-Follow the age old saying “measure twice cut once”
-Measure the inside of the drawers, measure the shelf liner
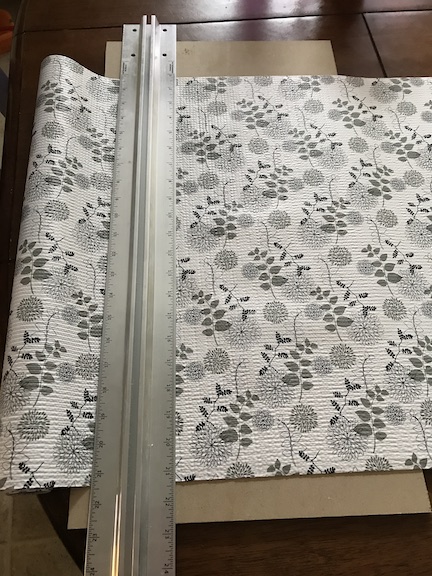
-Use the long ruler as a straight edge and use the utility knife to cut along the ruler on top of the piece of wood. You don’t want to damage your floor, table or the inside of your cabinets
-Add your shelf liner to the drawers- I didn’t use any glue on the drawers because they fit perfectly in place and wasn’t be moving around.
Tips to Install Shelf Liner to the Cabinets:
-Follow the same steps above for measuring and cutting.
-Lay your shelf liner on a flat surface with the pretty side facing down and spray with the adhesive. I didn’t add any protection to my table, but use newspaper or a painting canvas or plastic to catch the extra glue as you spray.
-Follow the instructions for a temporary hold on your glue adhesive- for mine it said to spray and wait 3-5 minutes before applying.
-The shelf liner will be sticky, but not to sticky just don’t let the shelf liner stick to itself (it will come undone but it was a stressful few minutes)
-Start at a corner and add the shelf liner to the cabinets. You will be able to move it around and readjust as needed.
My shelf liner has been in for a couple weeks and I haven’t had any problems with it popping up or moving as I put in pots and pans or dishes. I did notice in a few places where the contact paper overlaps I had to spray extra glue and make it permanent, but that’s shelf liner to shelf liner (not on the cabinets).
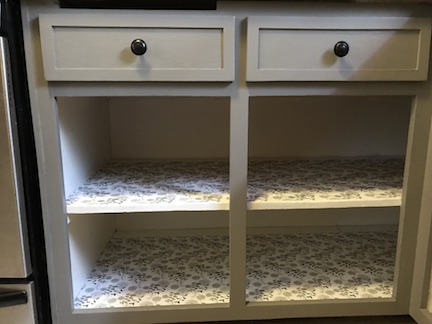
The shelf liner has added a pretty pop of color, given the kitchen a new look, and spring cleaning on the cabinets and drawers are finished.
Are you ready for spring cleaning and making your drawers and cabinets look new?


