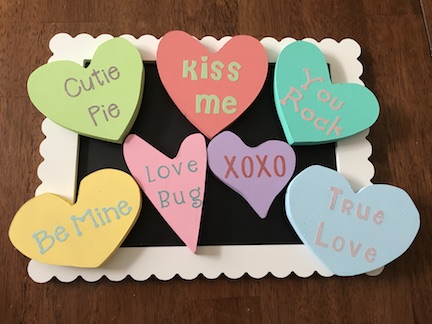
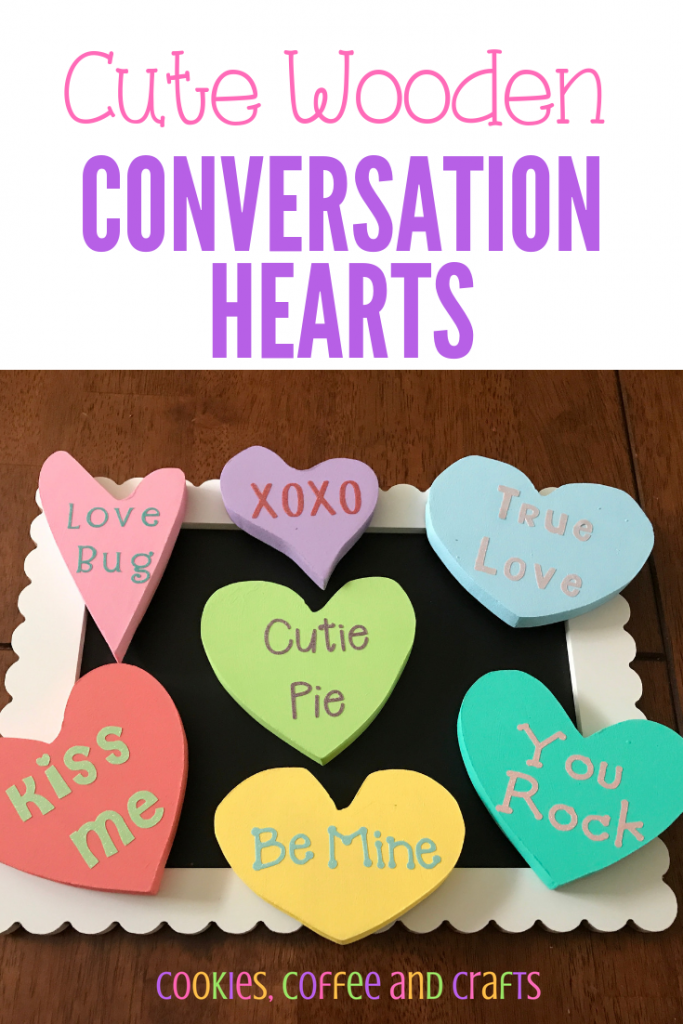
Cute Wooden Conversation Hearts
Note: As an Amazon Associate, I earn from qualifying purchases. If you click on a link from Amazon or another of my advertising affliates, I will earn a small commission at no additional cost to you. Please see my full disclosure policy here.
One of the cutest things about Valentine’s Day (to me) our conversation hearts. I think they make the cutest decor and cookies. I’m not a fan of eating them (sorry conversation heart fans), but they sure are cute. These Cute Wooden Conversation Hearts are a part of Craft & Create a monthly Cricut Challenge. Always stay until the end of the post to see the other Love/Valentine’s Day projects made with a Cricut.
My husband has started wood working and I had this amazing idea for him to cut out hearts for me in MDF board to create conversation hearts. I thought they would look adorable as a decoration, I just hope no one tries to eat them. I had my husband cut out the hearts in MDF board (we had some leftover from other projects) because I try to create my crafts and decorations on a budget. You can always buy wooden hearts at the craft store too.
*Below are some affiliate links and I may make a commission for purchases made through the following links.*
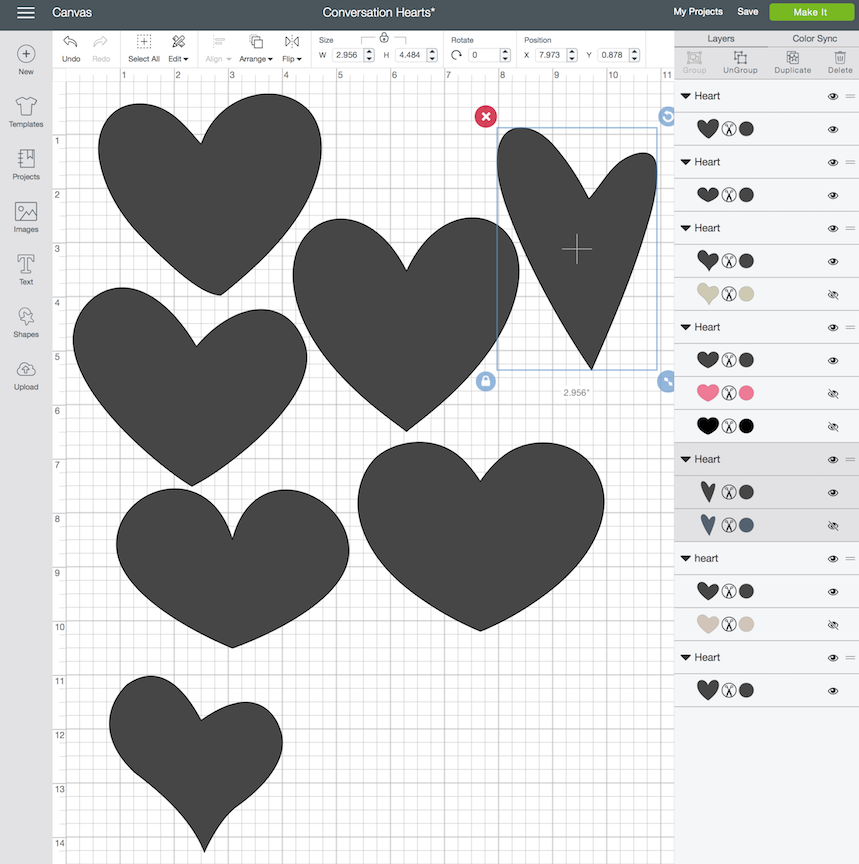
First in Cricut Design Space™ using my Cricut Access Premium I used images of different types of hearts. Then I cut them in card stock using my Cricut.
Let’s Create Cute Wooden Conversation Hearts
I traced the hearts onto the MDF board and my husband cut them out using a jigsaw and sanded the edges. I love how each one looks different and has their own unique look.
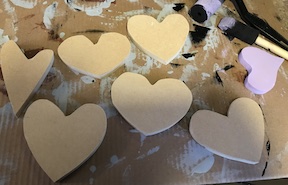
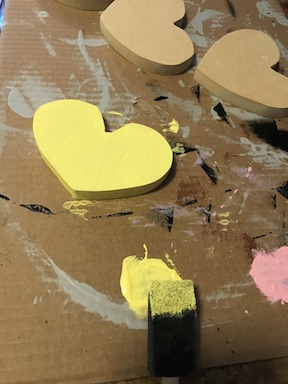
Then I painted the hearts different colors just like the real conversation hearts. I use a presentation board to do my craft painting. It’s nice and sturdy and sits nicely on top of the stove. You can put a little paint right on the board and get started. It helps keep the paint all in one place and if I’m messy (which I am) it saves my kitchen.
For the paint I used a couple different types. Delta Ceramcoat I used Lime Sorbet, Salmon, Think Pink, and Blue Danube. I used Apple Barrel Lilac Mist and Craft Smart Yellow and Ocean Breeze. I found all of the paint in my craft stash and the colors were perfect.
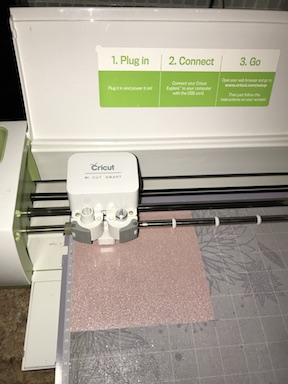
I knew glitter vinyl would be perfect for this project and I was so excited to get some. This was my first time using glitter vinyl and I couldn’t wait, I mean I just love glitter. I ran outside to get it as soon as it was delivered (it was like opening a Christmas present). I used Glitter Vinyl Self Adhesive Vinyl Sheets . For this glitter vinyl (I found out the hard way), it has to be cut on light card stock setting on the Cricut Explore (trust me on this). I tried so many settings and was getting frustrated and my husband looked up the vinyl on Craftopia and told me what setting to use and it worked perfectly.
I am a font nerd and I love different fonts (this took awhile) to make the sayings for each heart. In Cricut Design Space™ I used my heart images for size to add the text for each heart. This was so much fun to try different fonts.
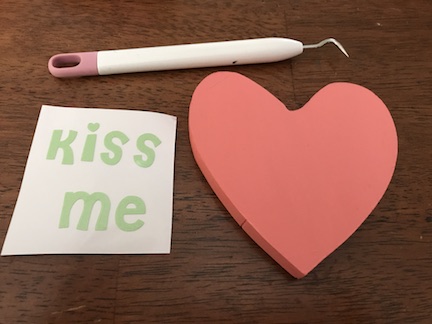
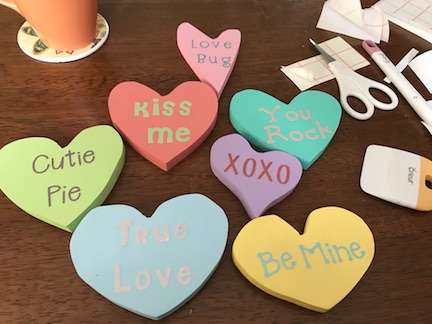
Then I cut the text on my Cricut in the glitter vinyl and transfered the text to the wooden hearts using Transfer Tape. I used my Cricut Tool Set
to weed the vinyl and the scraper to transfer it. The vinyl was hard to weed and I ended up mostly using my fingernails to weed.
The fonts I used are:
Kiss Me in Cheri
You Rock in Fontastic Fonts DJ Fiddlesticks (Cricut Font)
XOXO in CF Jack Story
Be Mine in Cavorting
True Love in LumberJack
Love Bug in Alphilicious (Cricut Font)
Cutie Pie in Berrylicious
Here is the Design Space File I created Conversation Hearts File
To find a variety of fonts, I subsribe to Font Bundles and every week they have free fonts and bundles. This is how I have collected so many fonts and it’s really helpful when creating with my Cricut.
These wooden conversation hearts came out so cute, I just had to share how they all looked together on the table. I think these can be displayed in many ways. They look amazing together, but could be separated and placed on small plate stands for bookcases, shelves or tables.
To display my new convsersation hearts, I placed them on a wooden picture frame I found in the Target Dollar Spot and created a cute centerpiece for Valentine’s Day. I knew the hearts would look awesome on the black background.
