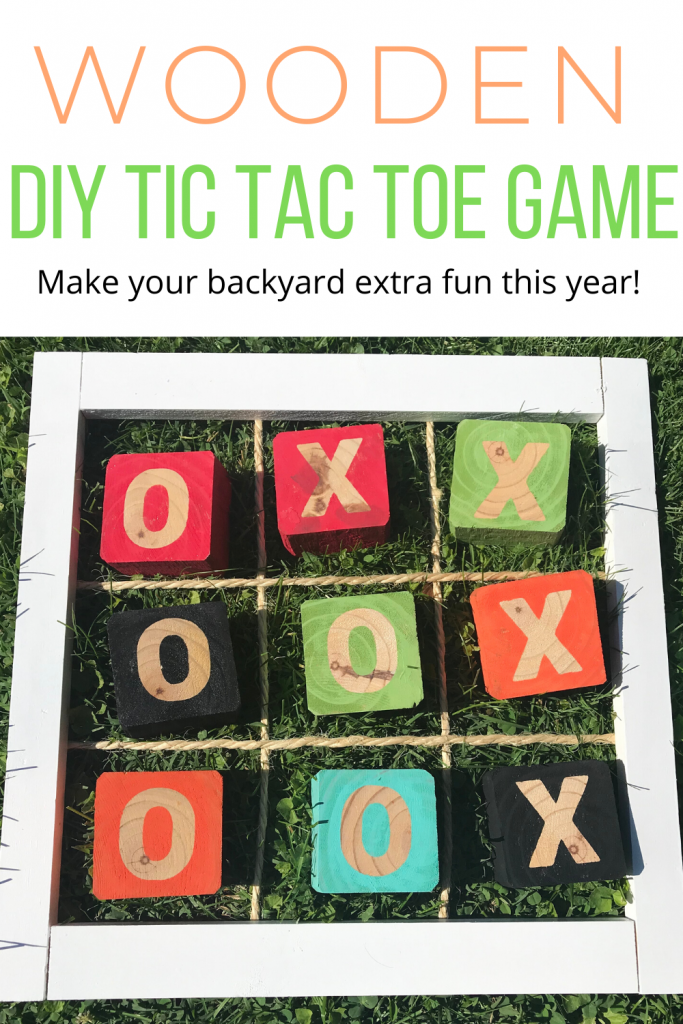
Wooden DIY Tic Tac Toe Game
Note: As an Amazon Associate, I earn from qualifying purchases. If you click on a link from Amazon or another of my advertising affliates, I will earn a small commission at no additional cost to you. Please see my full disclosure policy here.
My husband and I are coming up with ideas of how to make our backyard extra fun this summer with everything thats going on. We’ve decided to make some backyard games for us all to play. The kids love games and this way it will give them extra things to do in the backyard for fun. This is how we made a DIY Tic Tac Toe Game for the lawn.

Across the Blvd | Purple Hues & Me
Southern Sunflowers | Slices of Life
Domestic Deadline | Chas’ Crazy Creations
Comfort Spring | Cookies, Coffee, & Crafts
Coastal Bohemian
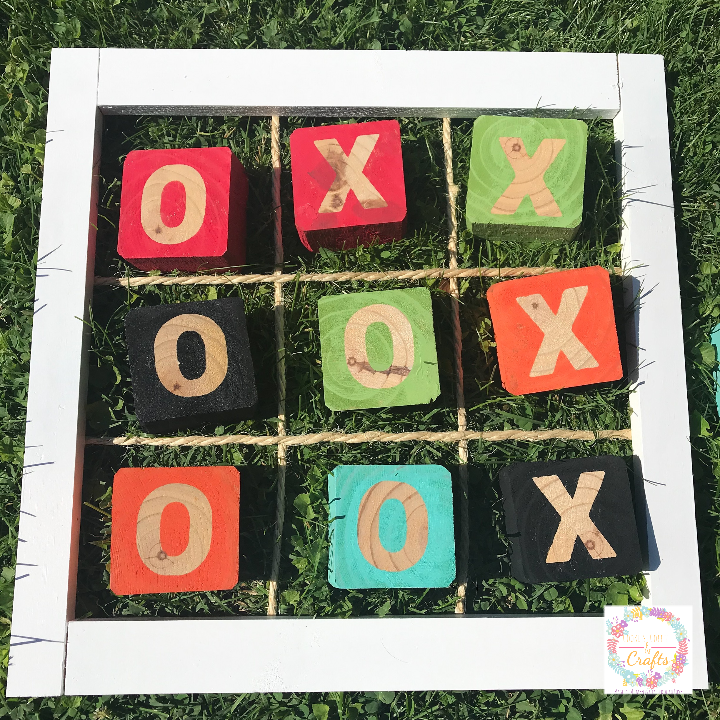
Since we are trying to only go out for essentials, we used items we had in our scrap wood pile. Last summer, we were given pallets with 4×4 post on them and decided they would be the perfect size for the tic tac toe pieces. My husband found some scrap pieces of a 4×4 already cut that were about 2 inches (just a little under) so that’s the size went with for our pieces. Making projects from the scrap wood pile are always fun, like these wood block signs or these 2×4 book stacks.
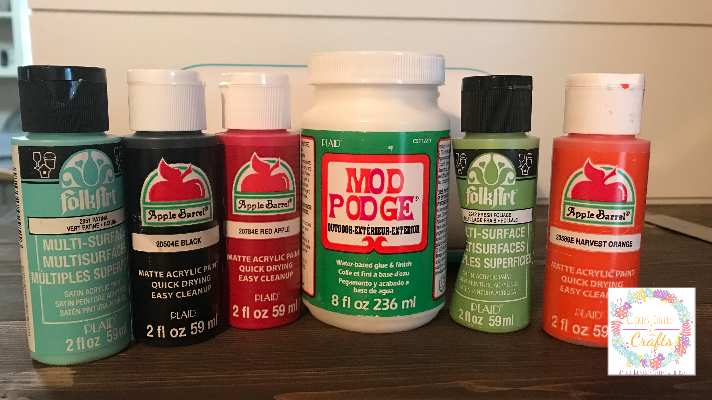
Supplies for Fun Outdoor Game
4×4 cut into about 2 inch squares
Miter Saw
Wood Filler
Removable Vinyl
Rope
Variety of Plaid Craft Paints- Black, Harvest Orange, Red Apple, Patina, Fresh Foliage
Makeup Wedge
Cricut Maker/Cricut Joy
Cricut Weeding Tool
Outdoor Mod Podge
Plaid Flat Paint Brush Set
Staple Gun
1×2
Let’s Create a DIY Tic Tac Toe Game
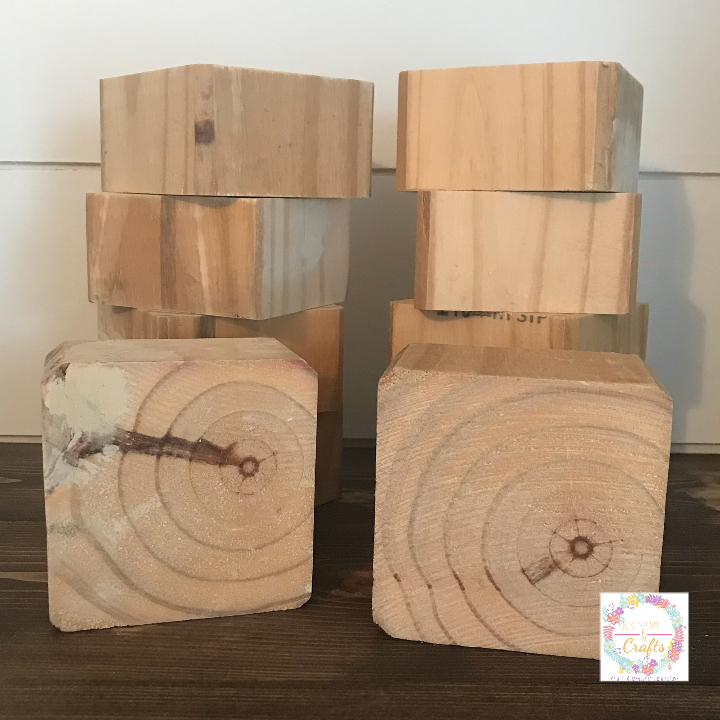
To get started cut your 4×4 into 5 squares about 2 inches wide. Then give your squares a good sanding around the edges to make sure no one will get a splinter (that would ruin the game really fast). On a few of the pieces my husband filled in some spaces with wood putty that he just couldn’t get smooth from sanding.
Creating the DIY Game Pieces for the Lawn
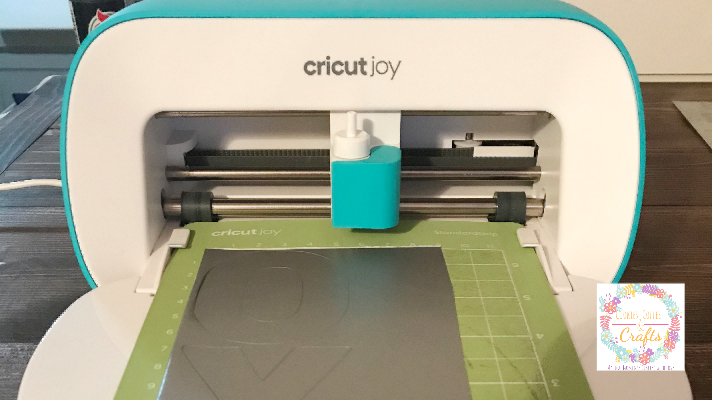
To add the x’s and o’s to the wood squares, I’m going to create x’s and o’s in Cricut Design Space™ and cut them in removable vinyl. I used the Cricut Access Fonts– Headline News. It’s a nice chunky font and perfect for the top of the blocks. The Cricut Joy came in super handy for this project.
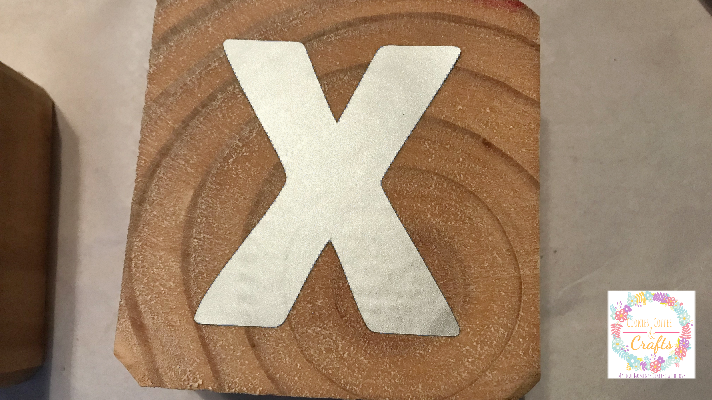
The X’s and O’s are simple to remove and add to the blocks so I didn’t use transfer tape, but you can if you want to. I added mine like a sticker and gently used the scraper to adhere the vinyl.
Painting the X’s and O’s Blocks
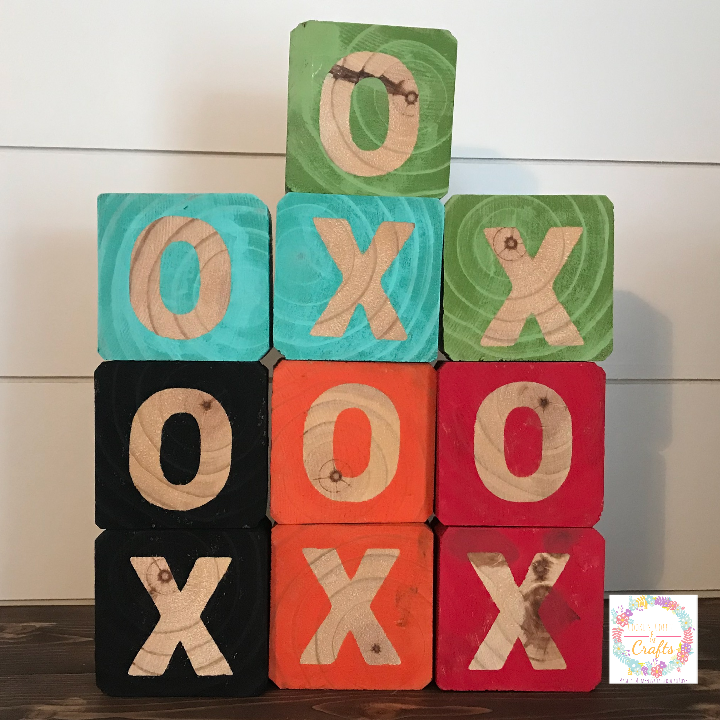
When all the tic tac toe game pieces are ready with x’s and o’s, I will paint them a variety of colors. At first I was going to use 10 different colors, but decided that was to much. So I chose 5 and painted the squares with my favorite craft paints and Flat Brush (this combination makes paint projects so easy). The kids just love colorful stuff and they will be easy to find in the lawn.
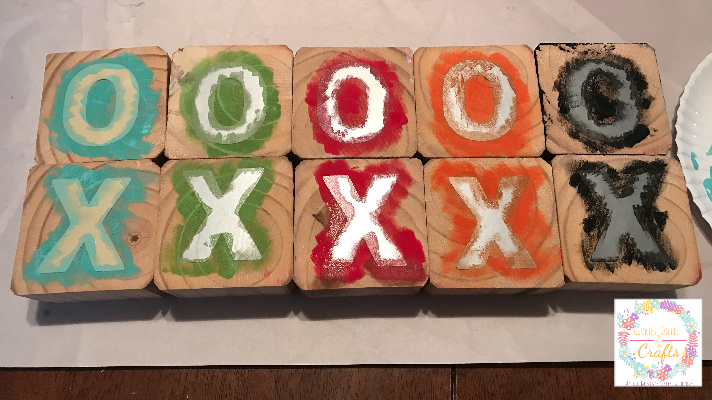
My biggest tip for this project is to the paint the sides of the squares first, then do the stenciling on top.
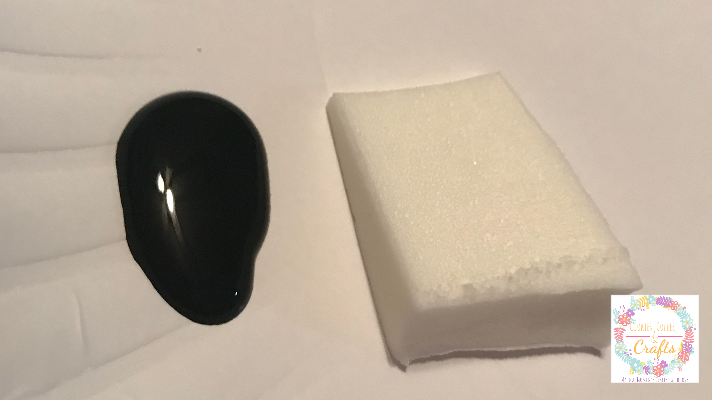
To do this, I’m going to use a make up wedge and dab up and down to paint around the stencil. Start by dabbing your make up wedge in the paint, then dab it onto the paper plate before dabbing it onto the wood. I’ve never used the word “dabbing” so much before. When all the lawn game pieces are finished the x’s and o’s will be the wood underneath. I did two coats of stenciling around the x and o’s before removing them.
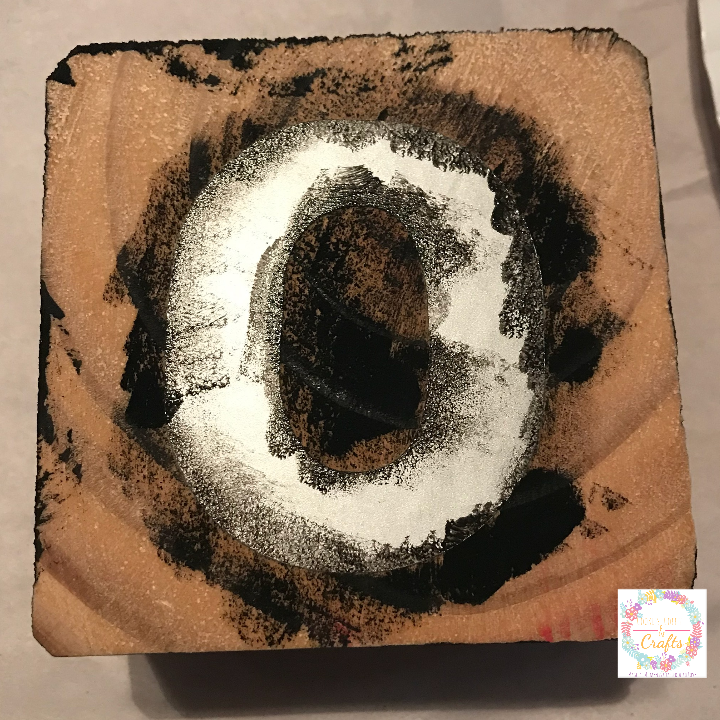
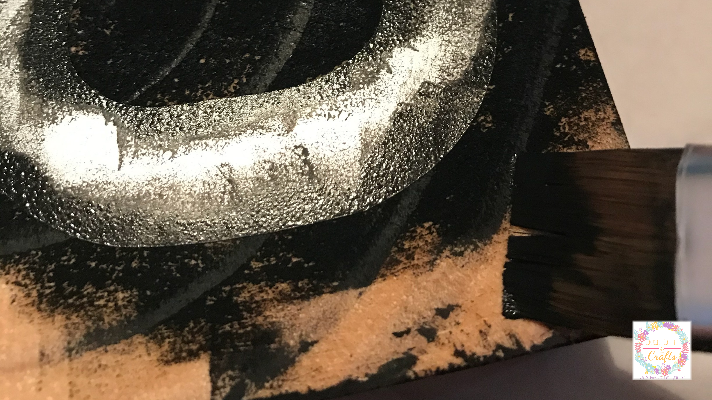
You can use a regular paintbrush (this is my favorite one) to paint the rest of the wood block. Remember don’t paint over the letters just around the area from the dabbing and blend it in.
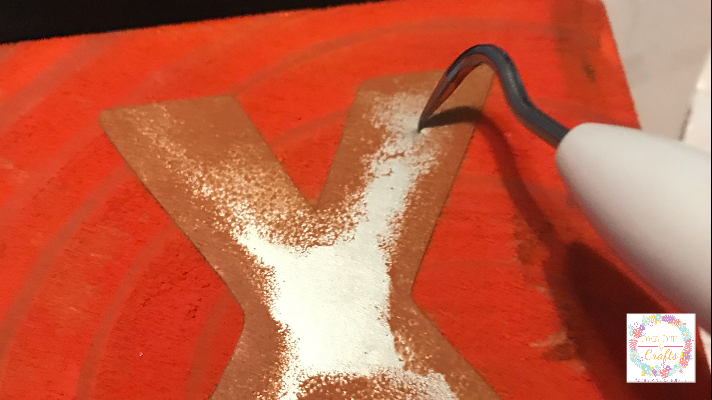
Let the paint on the wood dry and then use the Cricut Weeding Tool and remove the removable vinyl to reveal the wood underneath.
These blocks are not going to stay outside all the time so I’m using outdoor Mod Podge to seal them. If you are going to keep your wooden tic tac toe game outside all summer, I suggest sealing them with something stronger.
Creating the Tic Tac Toe Board
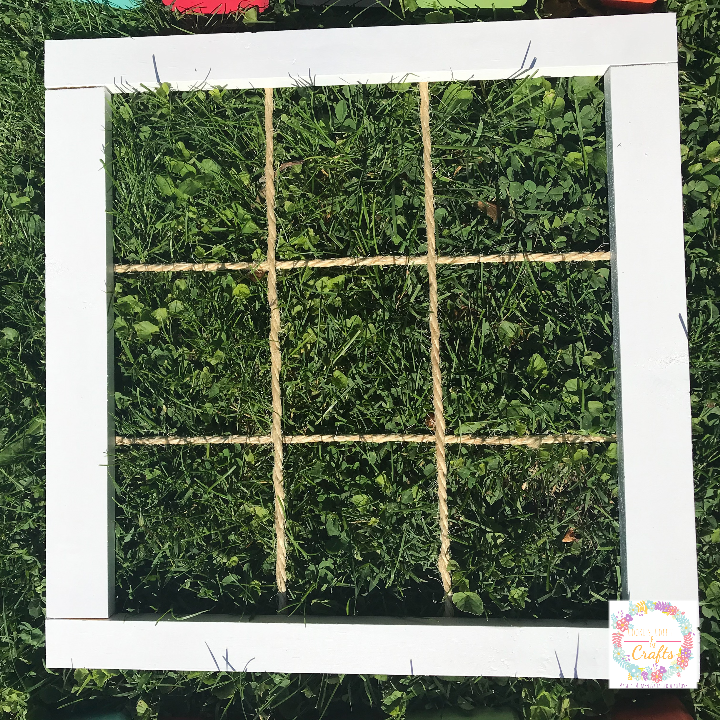
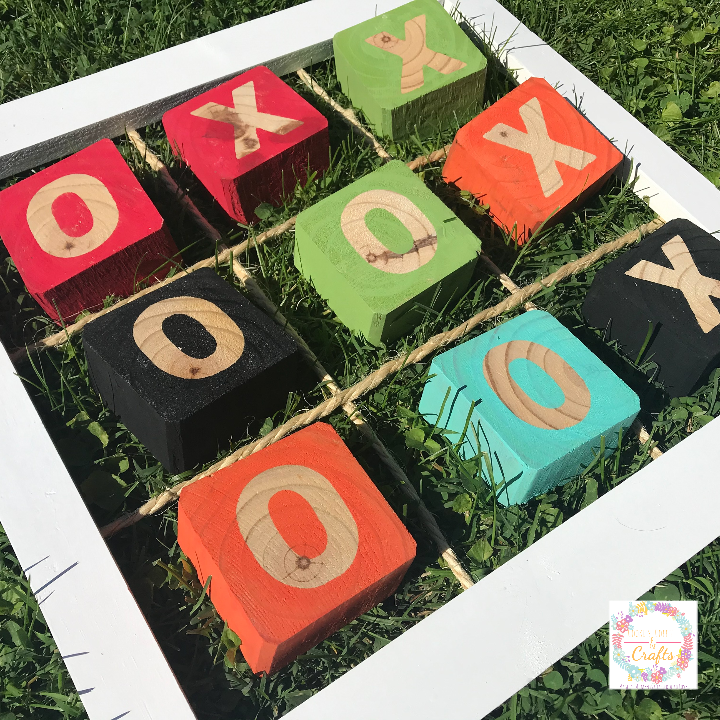
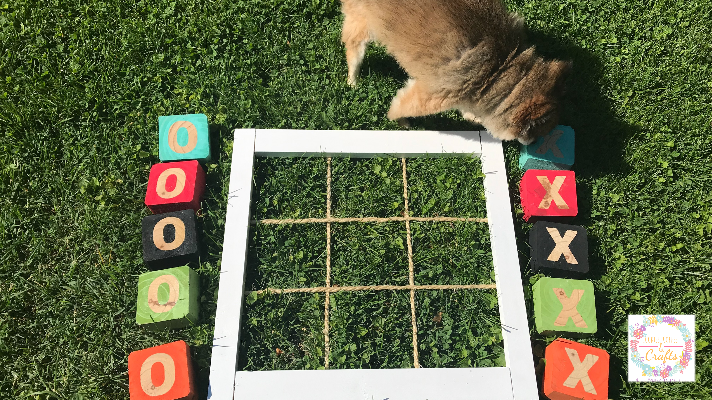
For the tic tac toe board, I used 1×2 to make a square frame. They are nailed and glued together. I decided on the 1×2 because its light enough and easy for the kids to carry. Then I painted it white.
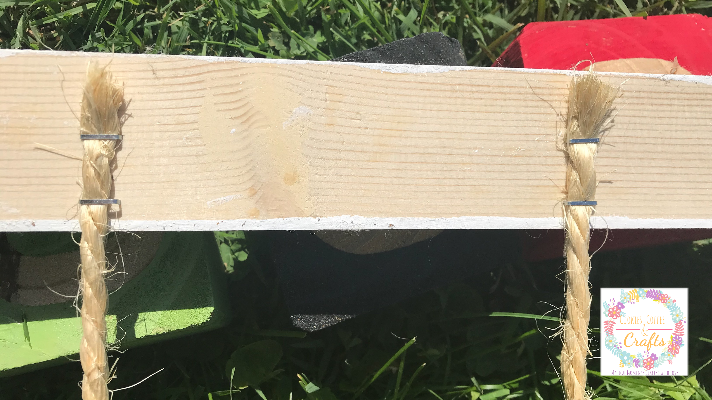
Then for the lines, I’m adding rope to the back of the game board frame to make the squares to play. The rope is stapled to the back of the wood frame.

It’s super easy and will work great in the lawn for some backyard family fun.
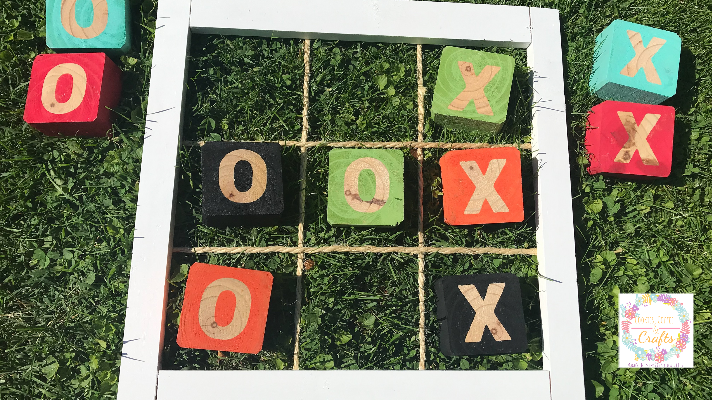
You can play it in the grass, patio or even on top of a table. This project was simple and together we will create lots of memories playing it for years to come.
Look it’s even Pom Pom approved!
amzn_assoc_placement = “adunit0”;
amzn_assoc_search_bar = “true”;
amzn_assoc_tracking_id = “jsparmo-20”;
amzn_assoc_ad_mode = “manual”;
amzn_assoc_ad_type = “smart”;
amzn_assoc_marketplace = “amazon”;
amzn_assoc_region = “US”;
amzn_assoc_title = “My Amazon Picks”;
amzn_assoc_linkid = “2ddfca55a1addff7e703f9938ac03b27”;
amzn_assoc_asins = “B000HWY6DI,B002WE1M9U,B00RGFYA3A,B00CIW3NKW”;
