Wooden Pumpkin For Fall
Note: As an Amazon Associate, I earn from qualifying purchases. If you click on a link from Amazon or another of my advertising affliates, I will earn a small commission at no additional cost to you. Please see my full disclosure policy here.
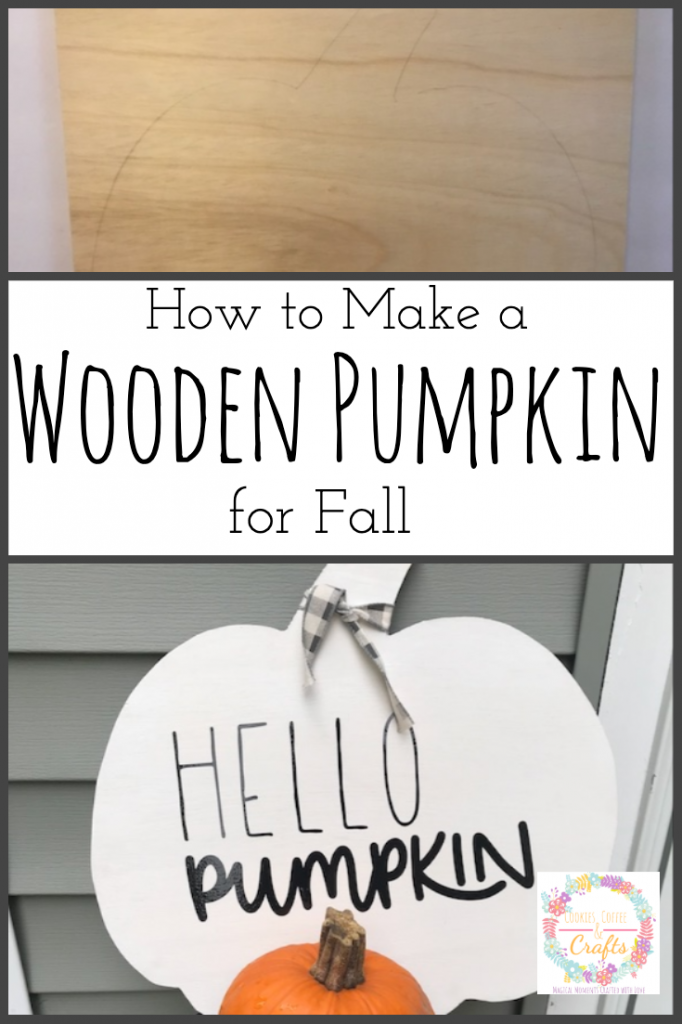
Decorating with pumpkins in the fall is my go to, but I usually use real pumpkins that have to be replaced every year so I’m trying to build up a pumpkin collection I can put out every year. I see the wooden pumpkins at the store all the time, but I’m shocked by the price. I’m going to show you how to make a wooden pumpkin for fall. This wooden pumpkin will be a little rustic, a little farmhouse, some buffalo check, but perfect for fall. The best thing about making homemade items is you can customize it for you.
This month my Cricut friends and I are creating something for fall. Fall in love with all of these amazing fall ideas for you.
In our scrap wood pile, I have a piece of plywood that is perfect for this project. If you don’t have any scrap wood, you can buy small pieces of plywood at the home improvement stores. Even if you have to buy wood, this project will cost about $10.
This post contains affiliate links which means if you click on a link and make a purchase, I will receive a small commission at no additional cost to you. Thank you for your support!
Supplies for Pumpkin Sign for Fall
Plywood
White Paint
Cricut Permanent Black Vinyl,
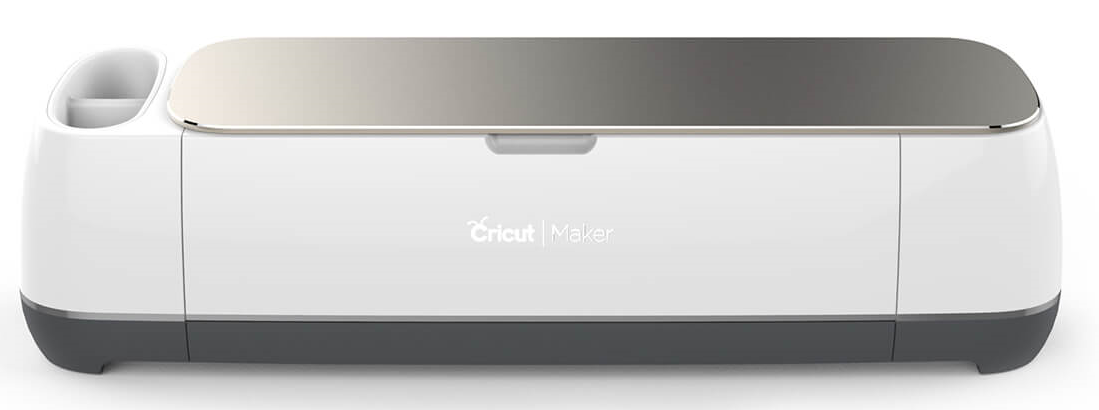
Cricut Maker (or any cutting machines)
Buffalo Check Ribbon

Let’s Create a Wooden Pumpkin for Fall
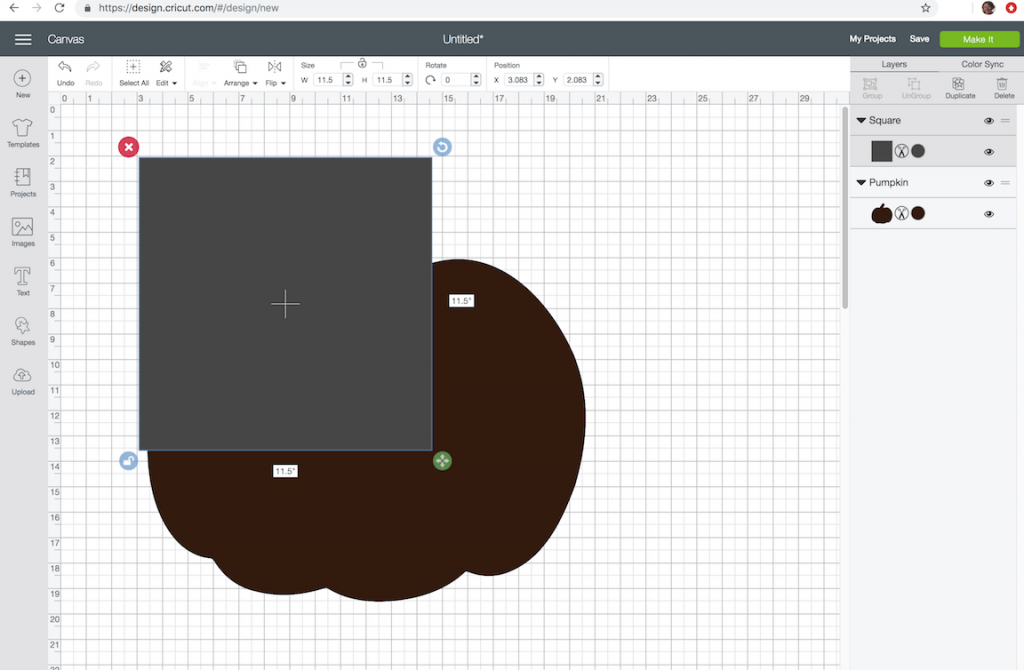
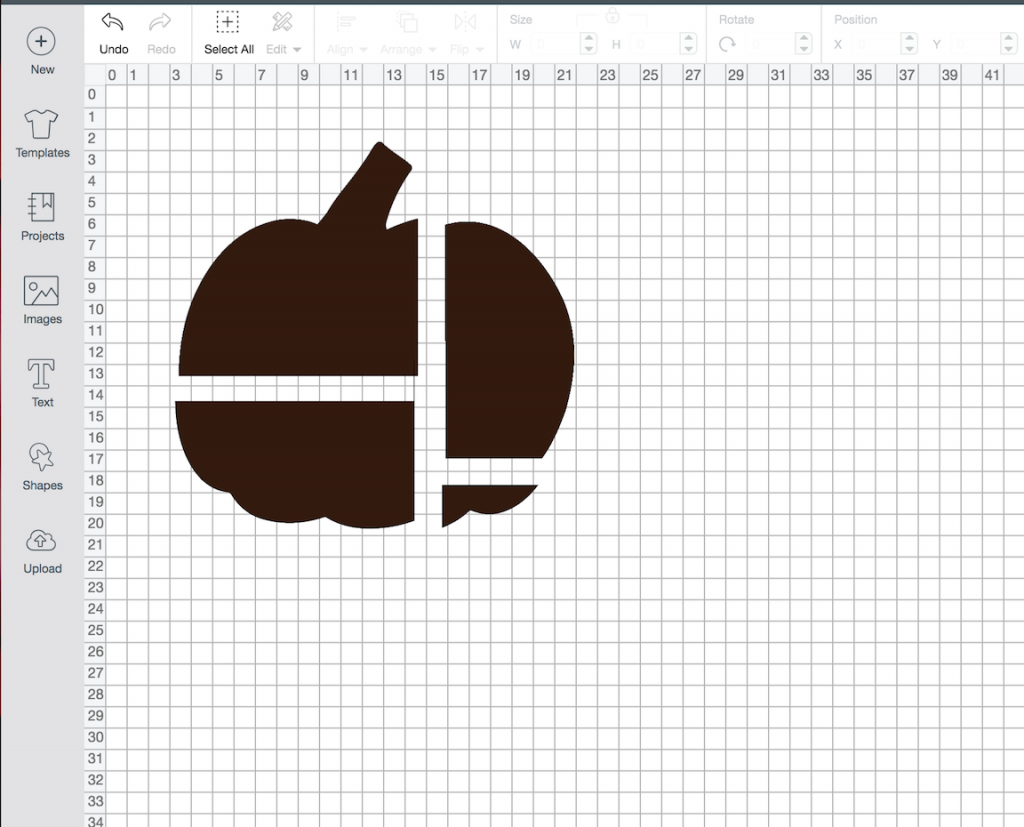
In Cricut Design Space, I created a pumpkin the size that I needed. I don’t have a large mat so I sliced it into pieces to fit on my 12×12 mat.
In Cricut Design Space™, choose your pumpkin. Size the pumpkin to the size that you want. As you can tell, I didn’t worry about the color of the pumpkin because I just use old card stock in a design or color I don’t like. Buying paper packs is one of my favorite things, but the packs always have a few designs I don’t care for, so I save them for projects like this.
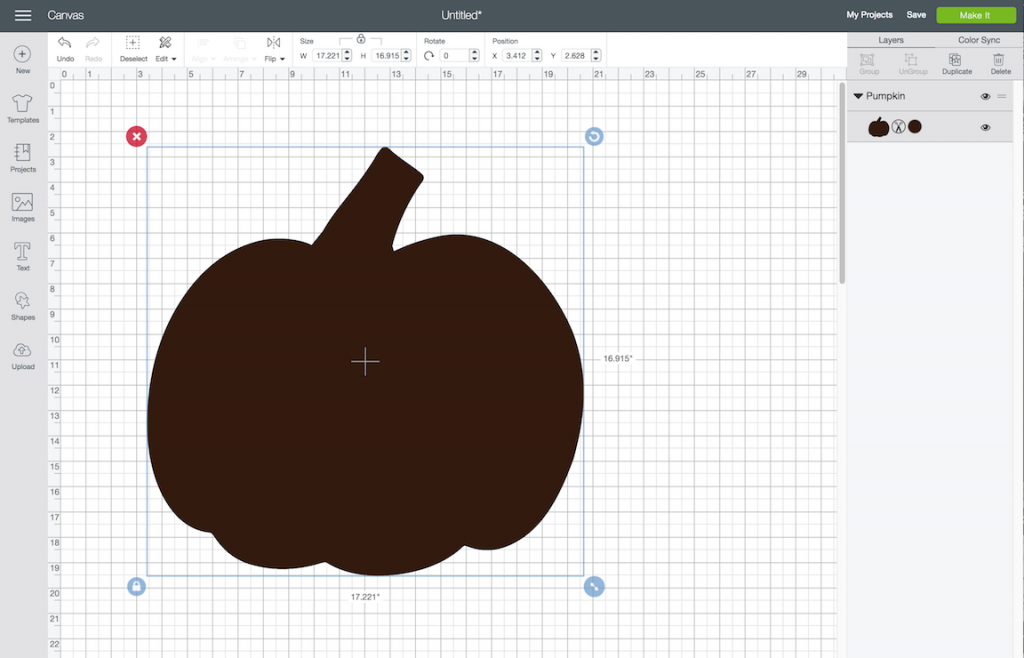
Now add a square from the shapes tab and size the square 11.5×11.5. In the layers panel on the side, highlight the square and the pumpkin so both are highlighted in grey (on the panel), then click slice. Slice is located at the bottom of the layers panel.
This is what my pumpkin looked like in Design Space when I went to “Make It.”
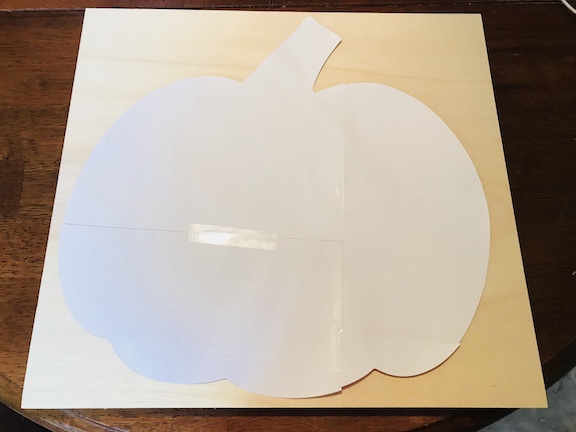
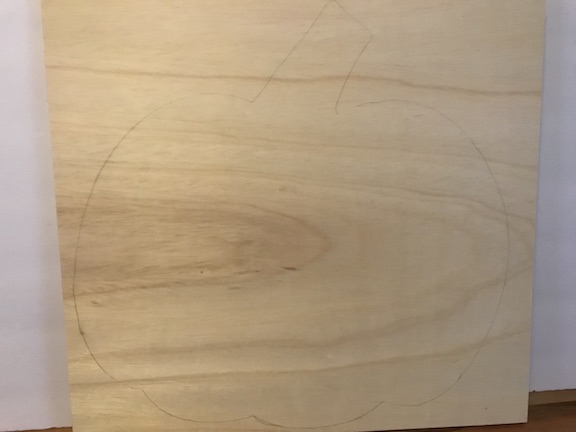
Then I traced the pumpkin onto the piece of plywood, but before doing that I taped all the pieces together to make one big pumpkin.
Using the jigsaw my husband cut out the shape.
I gave the edges a light sanding and then painted it white. This pumpkin was really inspired by Rae Dunn.
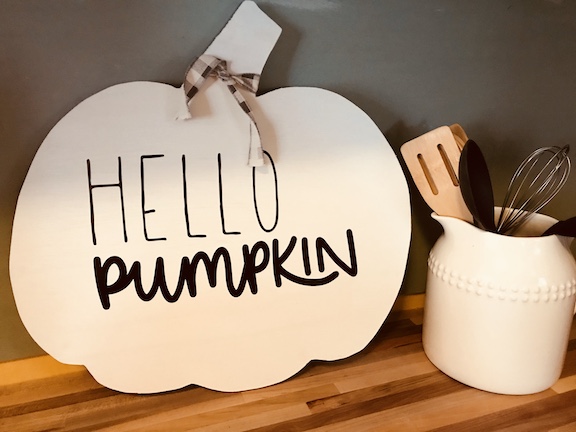
Once my pumpkin was ready, it was time to decorate it. I’ve had many many many ideas of what to put on my pumpkin. Should it be something about fall? Hello Pumpkin? Thanksgiving related? It was a tough choice. My daughters nickname is pumpkin so “Hello Pumpkin” was my choice.
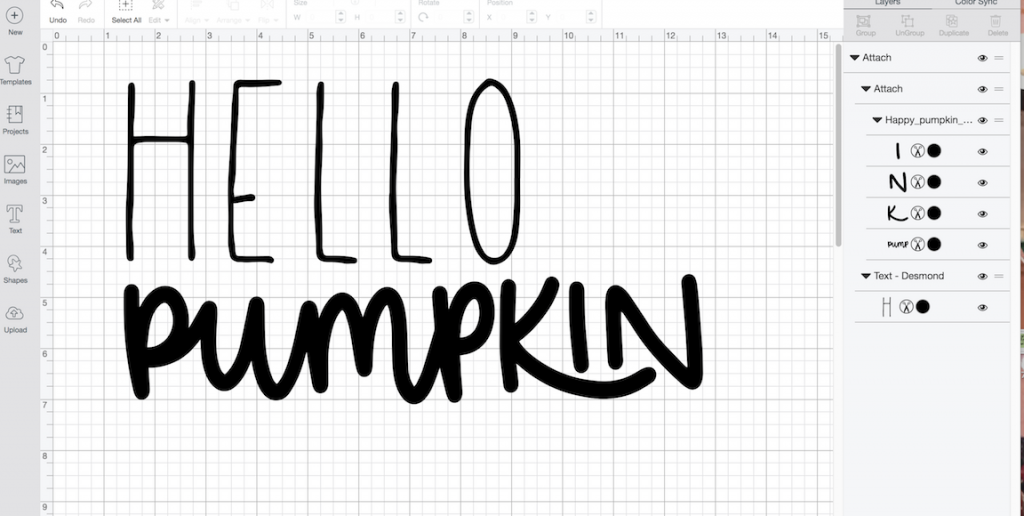
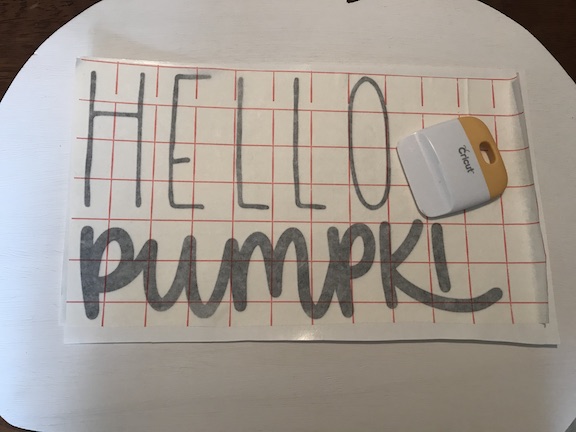
I created the design using Desmond for Hello and pumpkin from an SVG from Lovesvg. I cut the design in Oracal 651 Black Permanent Vinyl and used Transfer Paper
to add it to the pumpkin.
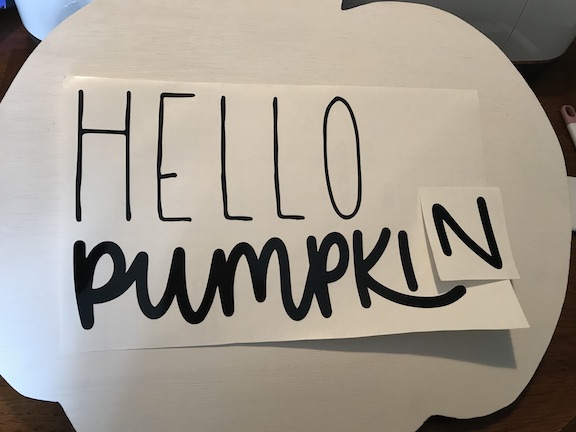
You will notice I lost the n when I was removing the extra vinyl. So I cut another n and added it at the end. Then I added some buffalo check ribbon around the stem.
Wooden Pumpkin on the Front Porch
Here is my pumpkin outside.
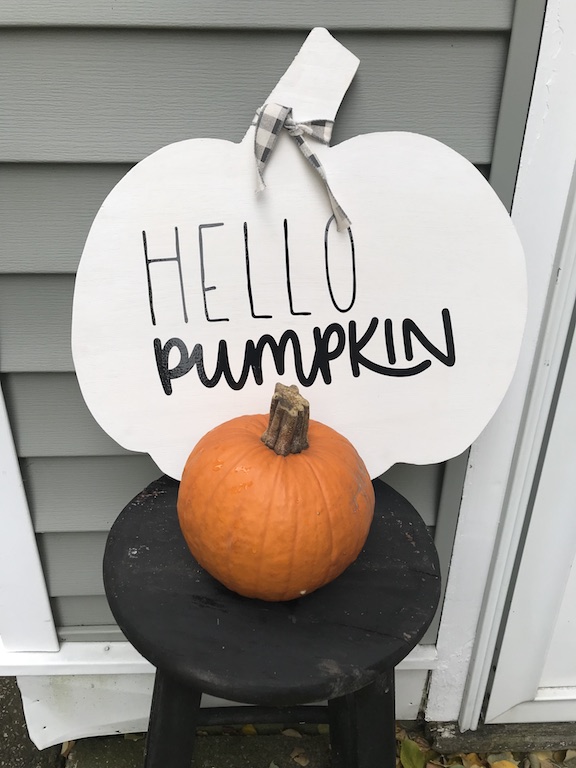
Decorating with the Pumpkin for Fall
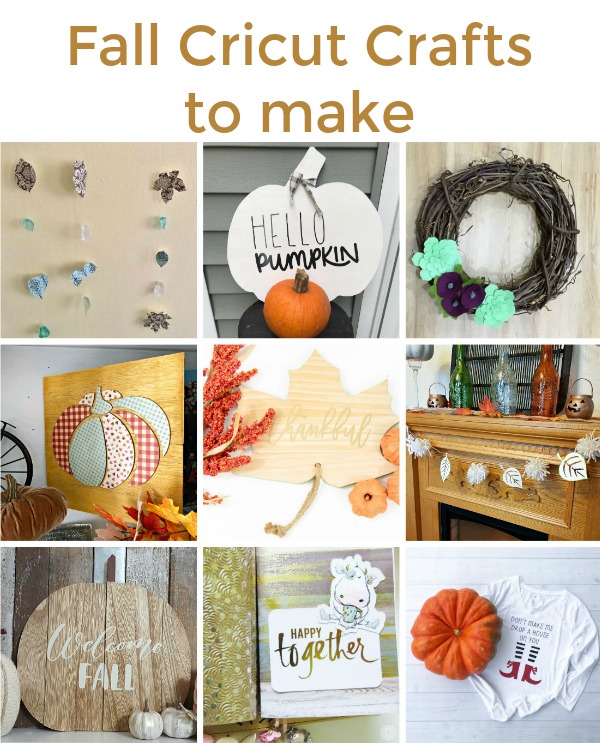
Fall Paper Leaf Wall Hanging / Wooden Pumpkin for Fall- Larger Than Mat Cricut / Felt Flower Grapevine Wreath / Chipboard Pumpkin / Wooden Fall Leaf customized with Cricut / Quick & Easy Fall Banner / Welcome Fall Wood Pumpkin Sign / How to Cut Die Cuts for Your Planner / Halloween T-Shirt
amzn_assoc_placement = “adunit0”;
amzn_assoc_search_bar = “true”;
amzn_assoc_tracking_id = “jsparmo-20”;
amzn_assoc_search_bar_position = “bottom”;
amzn_assoc_ad_mode = “search”;
amzn_assoc_ad_type = “smart”;
amzn_assoc_marketplace = “amazon”;
amzn_assoc_region = “US”;
amzn_assoc_title = “Shop Related Products”;
amzn_assoc_default_search_phrase = “Cricut Maker”;
amzn_assoc_default_category = “All”;
amzn_assoc_linkid = “37c6b10c833a4d82657716e1f67cad1a”;
